

How to Make a String Bracelet
Are you interested in a string bracelet that’s fun to make and trendy to wear? If your answer is yes, continue to read on for two string bracelet designs that you can make!
Here’s how to make the first design:
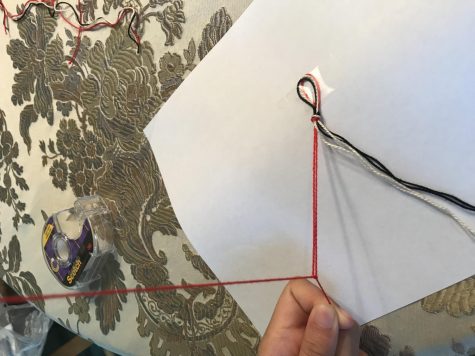
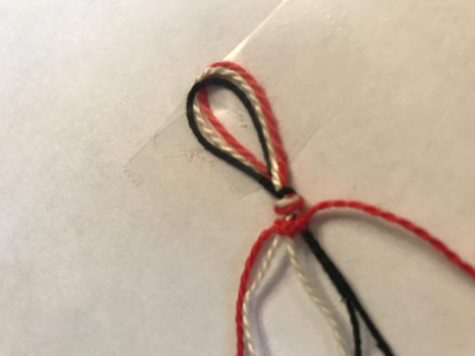
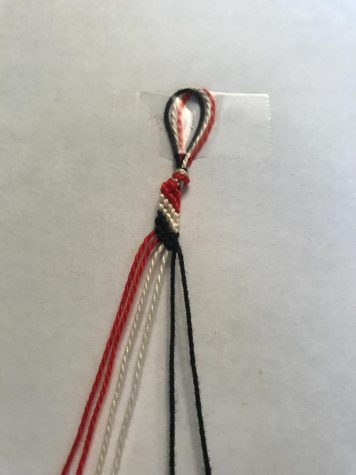
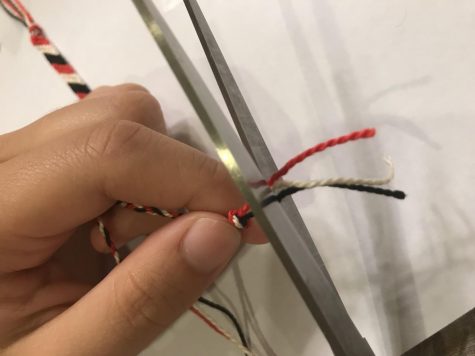
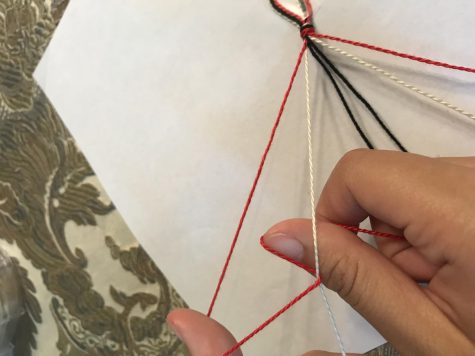
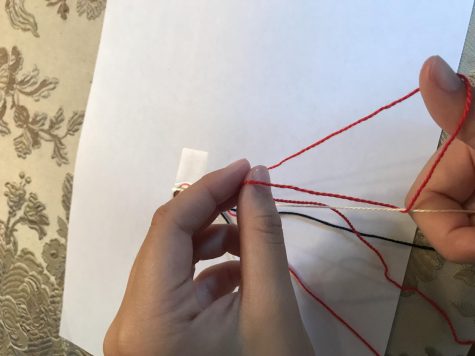
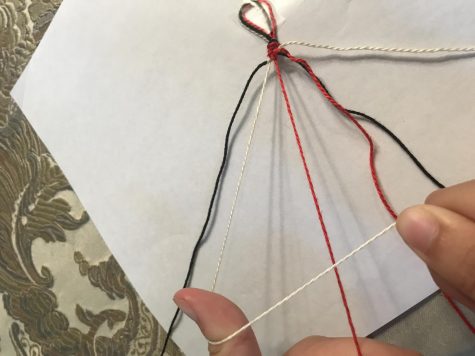
1. Choose 3 different colored strings and cut them so that they are each double the size of the distance from your fingertips to your opposite shoulder.
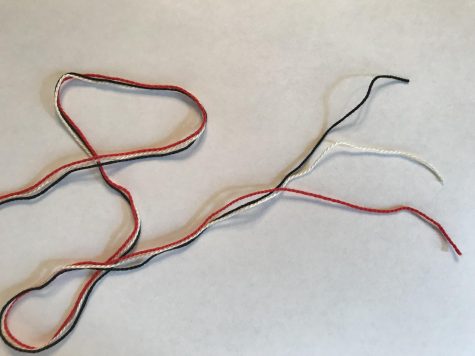
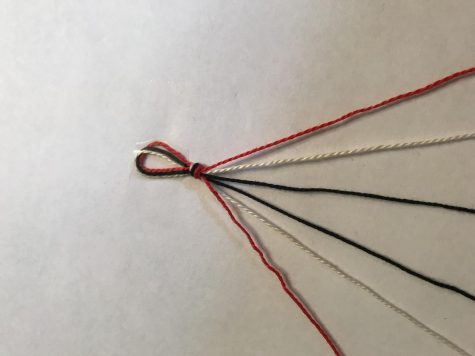
2. Align all of the strings and fold them in half.
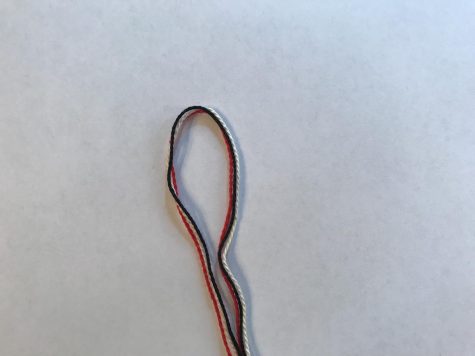
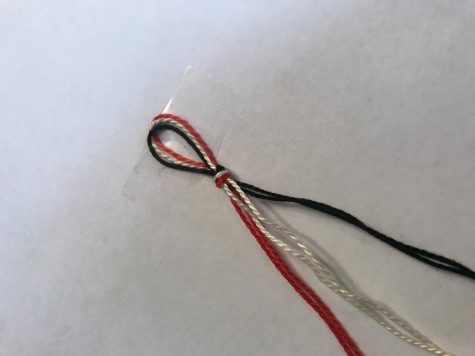
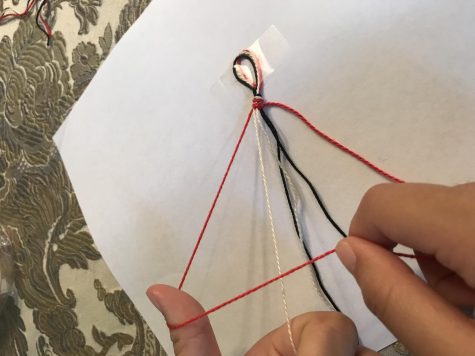
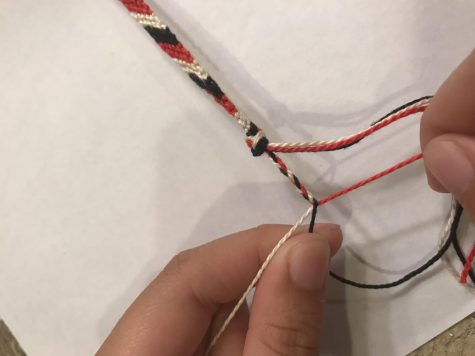
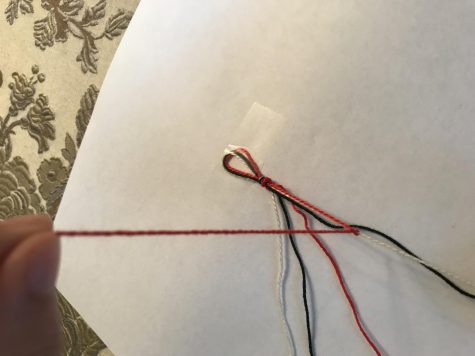
3. Tie off a loop, tape the loop down onto a table, pair up the same colored strings, and then separate the pairs into the order you want the colors to go in.
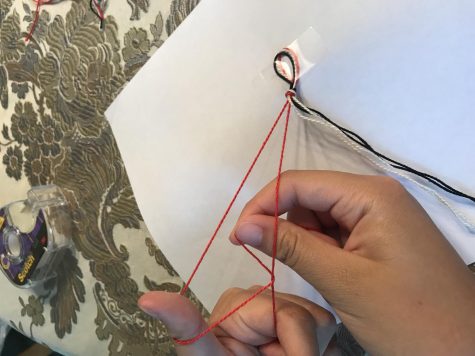
4. Take the second string from the left into your left hand and pull it taut. Then take the far left string into your right hand and tie it around and under the string in your left hand while keeping the inner string taut. Make a knot by lifting the string in your right hand straight above the string in your left hand and pulling it up to the loop at the top. Repeat that same process again with the same strings so that you have knotted it twice.

5. Now take the third string from the left and pull it straight while holding it in your left hand. Take the string that was in your right hand, that you pulled to make 2 knots, and tie a knot around this next string like you did with the first string. Loop it around and under the straight string, then pull it straight above and pull to form the knot. Do this twice on the same string. Do the same thing with the fourth string from the left, which should be the same color as the third string from the left.
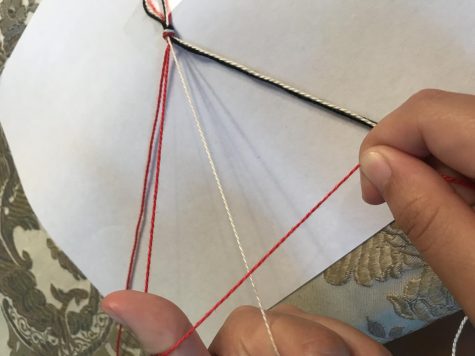
6. Next take the fifth string from the left, which should be your third color, and hold it in your left hand while pulling it taut. Tie 2 knots in the same way you have been doing, and repeat for the final string on the far right.
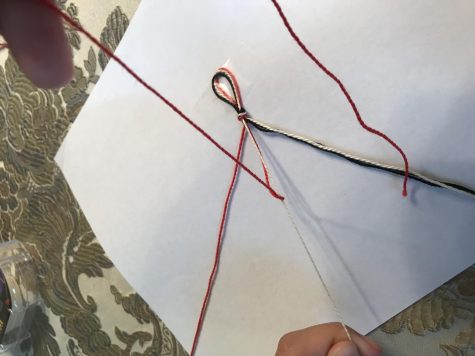
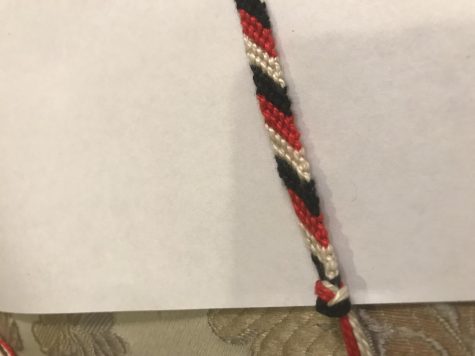
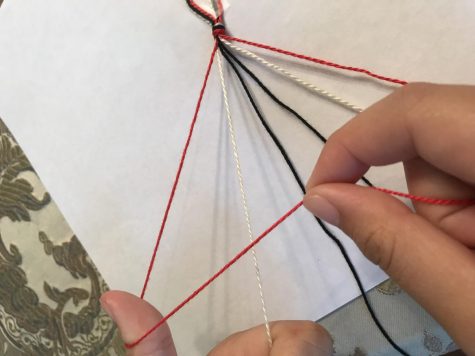
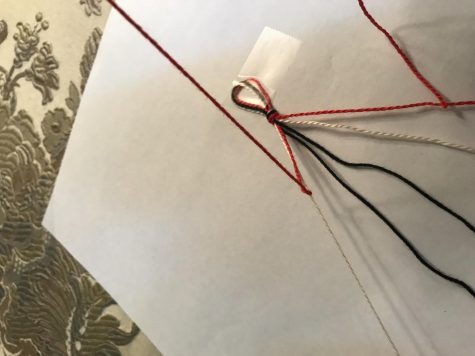
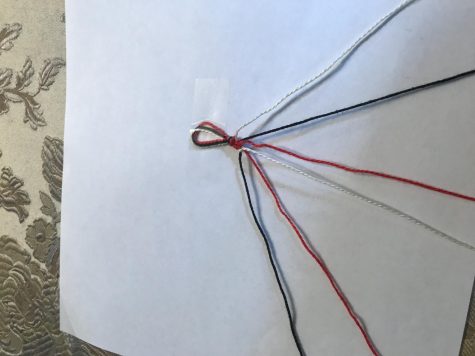
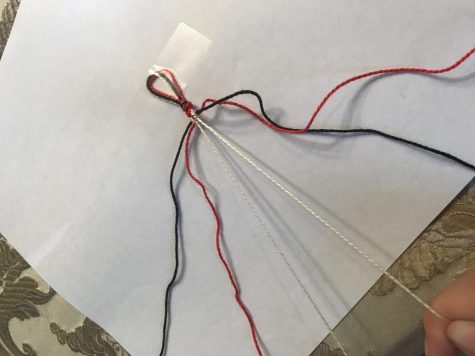
(The is what your bracelet should look like so far)
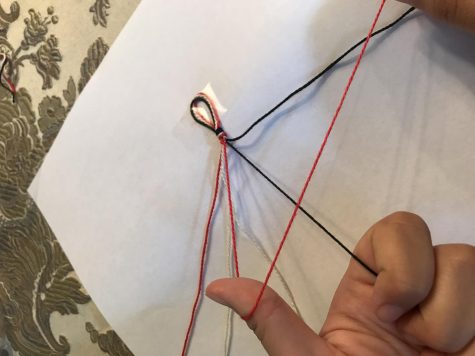
7. Repeat the knot tying process, but using the next string on the far left. Take the second string from the left in your left hand and pull it straight. Tie the string on the far left around and under the string on the right, pull it straight up above the string on the right, and pull it up to the top. Tie 2 knots. Repeat this same process with all of the strings moving to the right until the string beginning on the left reaches the far right.
8. Continue to tie 2 knots around each string so that the string on the left reaches the far right.
9. When the bracelet is long enough to fit around your wrist, pull it gently so that the bracelet straightens out.
10. Tie a knot around the bottom of the bracelet.
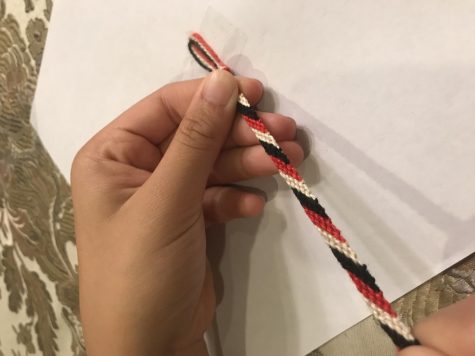
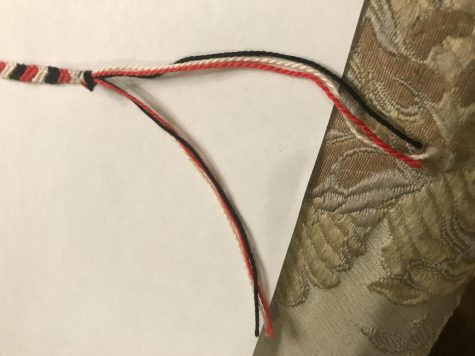
11. Split the bottom strings into 2 sets of each color and braid each end. When the braid is long enough, tie it off with a knot. Snip off any extra under the knot.
12. To tie the bracelet around your wrist, string one braid through the loop at the top and tie a knot using the other braid.
Now here’s another way you can make the bracelet:
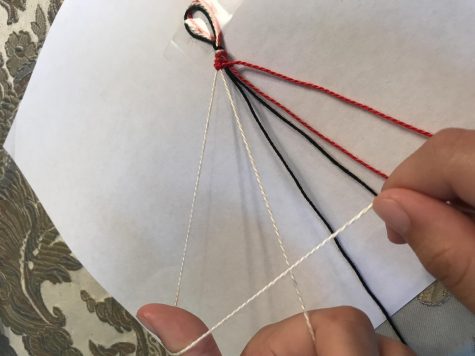
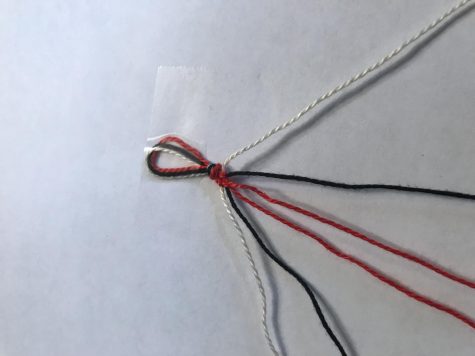
1. Start off the same way as the first bracelet by cutting the 3 strings and tying a loop. This time, separate all of the strings and place the same colored strings opposite each other with the color order starting from the outside to the inside.
2. Take the second string from the left into your left hand and pull it taut. Then take the far left string into your right hand and tie it around the string in your left hand while keeping the inner string taut. Make a knot by lifting the string in your right hand straight above the string in your left hand and pulling it up to the loop at the top. Repeat that same process again with the same strings.
3. Repeat the same process on the next string.
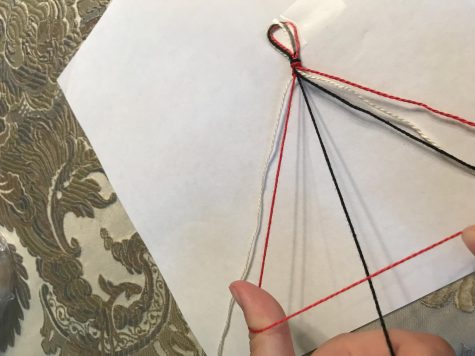
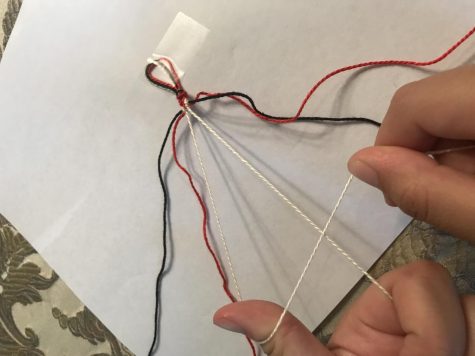
(This is how the strings should be aligned)
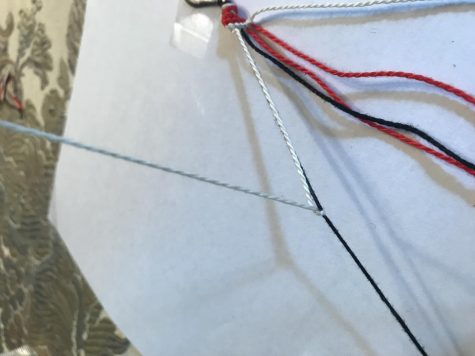
4. Now take the second string from the right into your right hand and pull it straight. Take the string on the far right and tie it around, under, and above the tight string then pulling it up to the top to make a knot. Tie a second knot the same way around the same string. Do this again for the next string to the left.

5. Now the two strings that were originally on the outside should be on the inside. Tie these 2 strings together into 2 knots just like you’ve been doing. You can tie it using your right or left hand.
6. Start back on the left side and tie 2 knots around the first 2 strings so that the string starting on the left moves to the center.
7. Now move over to the right side and pull the second from the right string in your right hand and use your left hand to tie the far right string around, under, and above the string in your right hand and pull so the knot reaches the top. Tie 2 knots around this string and repeat the process on the next string to the left until the string that was originally on the outside is in the middle next to the other string that is the same color as it.
8. Tie these 2 strings together twice using either your right or left hand.

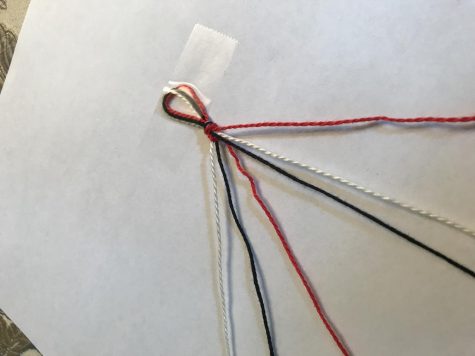
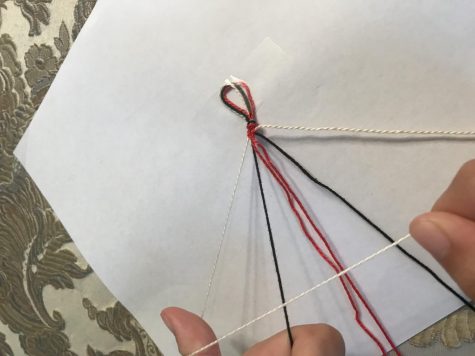
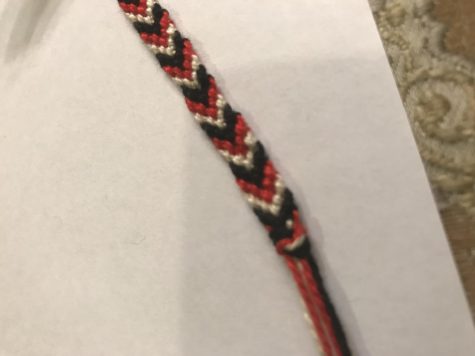
(The picture on the right is how your bracelet should look so far.)
9. Continue knotting starting from the right, then the left, and then tying the two strings of the same color together. When your bracelet is long enough to fit around your wrist, tie a loop at the bottom, split the string into groups of 3, braid each group, tie off a knot at the bottom of each braid, and cut off any excess string just like the first type of bracelet.
10. To tie the bracelet around your wrist, string one braid through the loop at the top and tie a knot using the other braid.
And you’re done!
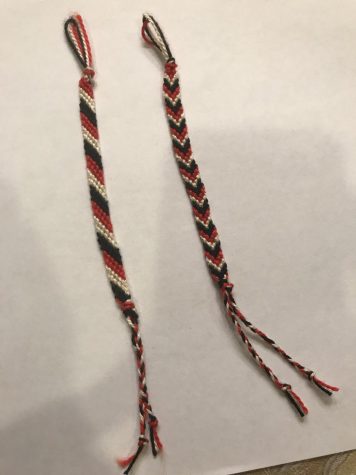
These bracelets can be great gifts and are really fun to make while in the car, at home, or even with your friends! They can be hard to make at first, but with a little bit of practice you’ll get the hang of it. Try making them as keychains or anklets too. You can use a variety of different color strings, or try using red and gray to sport your Lenape Pride. Happy making!
Kaitlin • Sep 22, 2018 at 21:33
Thanks UkiyaSeed. Will correct it 😀online pharmacy